
QUX® App Developer
The QUX® App Developer feature gives you a simple way to share your apps with the world. Whether you’re in the testing phase or ready to launch, you can:
- Upload apps for testers to collect feedback and improve performance.
- Distribute apps for free so users can instantly download and enjoy them.
- Sell your apps directly to users, opening new opportunities for revenue.
With QUX®, developers have the flexibility to test, share, and monetize, all in one place.
How to Get Started
- Create a QUX® Account
- Sign up on the QUX® platform if you don’t already have an account.
- Log in to your QUX® Account
- Enter your credentials to access your dashboard.
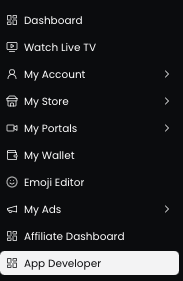
- Open the App Developer feature
- Once logged in, findApp Developer on the left menu bar and click to begin.
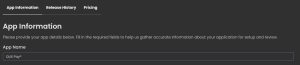
Let’s Set Up Your App
- Click on “Add New App”
- This option will start the process of uploading your app.
- Fill out the app details
- Enter the required information
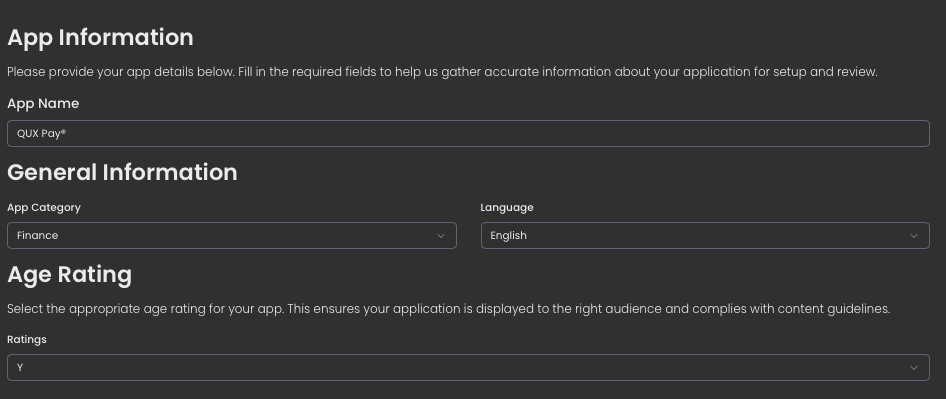
Filling the App Information form (QUX® App Developer)
App Name
- Click the App Name field and type a clear, memorable name for your app.
- Tip: keep it short and searchable —30–50 characters
- Avoid trademarked names you don’t own and avoid special characters that might break listings.
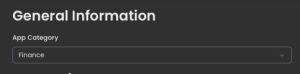
App Category
- Click Select a App Category.
- Pick the single category that best matches your app’s primary function (e.g., Productivity, Games, Finance, Health).
- Tip: if your app spans categories, choose the one users will most likely search for.
Language
- Click Language / Select a Primary Language.
- Choose the main language of your app’s UI and store listing (e.g., English, Tagalog).
- Tip: choose the language you’ll provide support in and use for your primary description. If you support multiple languages, prepare translated descriptions and screenshots for each locale later.
Age Rating
- Click Ratings and open the dropdown.
- Select the appropriate age rating that matches your app’s content
- Consider content like violence, sexual content, gambling, user-generated content, or in-app purchases before selecting.
Tip: choose the lowest rating that honestly fits your content — overrating reduces potential audience; underrating risks rejection or takedown.
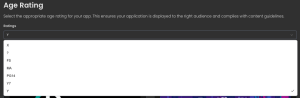
The QUX® Ratings Guide
QUX® uses a comprehensive content rating system to ensure age-appropriate content access:
- Y (Young Children): Content suitable for children under 13
- Y7 (Children 7+): Content appropriate for children 7 years and older
- PG-14 (Teens 14+): Content suitable for users 14 years and older
- MA (Mature 17+): Content appropriate for users 17 and older
- FS (Free Speech): Content with potentially controversial speech protected by free expression principles
- (Content Unknown): Content whose rating is uncertain or variable
- X (Adults Only 18+): Content exclusively for adultsUploading App Media Assets
Uploading App Media Asset
App Icon
- Click “Add App Icon.”
- Upload asquare image (1080×1080 px).
- Use your official app logo — simple, high-contrast, and recognizable at small sizes.
- Recommended: PNG with transparent background.
- Avoid: text-heavy designs or stretched images.
Featured Image
- Click “Add Featured Image.”
- Upload a1920×1080 px
- This acts like yourbanner on the app listing.
- Show branding, tagline, or a visual preview of your app.
- Keep text minimal (less than 20% of the image).
Featured Video (Optional but powerful)
- Click “Add Featured Video.”
- Upload a video file up to50 MB.
- Use it to demo your app features or show real usage.
- Recommended: MP4 format, 30–60 seconds, clear narration or subtitles.
- Start with the strongest feature in the first 5 seconds.
- You can upload up to 5 minutes of video, as long as the file size does not exceed the maximum limit.
App Screenshots
- Click “Add New Screenshots.”
- Upload multiple in-app screenshots (phone/tablet views).
- Show the main screens: Home, Menu, Settings, Core Feature.
- Stick to platform guidelines (e.g., full screenshots, no device frames unless required).
Quick Best Practices
- Keep a consistent style across all media (same color palette, branding).
- Optimize for clarity — users should understand your app in 5 seconds.
- Double-check file sizes and formats before upload to avoid rejection.
Filling Out App Listing Details
Promotional Text
- What it is:A short tagline or highlight that appears at the top of your app’s page.
- How to write it:Keep it under 170 characters. Use it to announce a key feature, update, or offer.
![]()
Description
- What it is:A longer explanation of your app’s features and benefits.
- How to write it:
- Start with a strong opening line that states your app’s purpose.
- Optional: List key features in short bullet-like
- Optional : You close with a call to action
What’s New
- What it is:A section to highlight updates or improvements (appears with each new version).
- How to write it:
- Keep it concise and clear.
- You can mention bug fixes, new features, or performance improvements.

Keywords
- What it is:Words or phrases that help users find your app in search.
- How to write it:
- Use 5–10 relevant terms, can be separated by commas.
![]()
Support URL
- What it is:A webpage where users can get help, FAQs, or contact support.
- How to write it:
- Provide a live link to your website or support portal.
![]()
Copyright
- What it is:Legal ownership info of your app.
- How to write it:
- Use your personal name or your company name, plus the year.

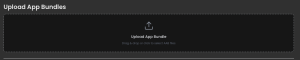
Upload Your App Bundles (.AAB files)
- ClickUpload and select your .AAB file from your computer.
- ⚠️ Only.AAB (Android App Bundle) files are accepted. APKs are not supported.
- If your app has multiple versions, upload the correct bundle that matches your app details.
- Double-check that the bundle is signed properly and meets the required size limit.
Filling Out App Review Information
1) Special Instructions (Optional)
- Field: Tell us how to sign in or if there are any special things we need to know.
- Use this to explain anything the reviewer should be aware of:
- Demo login steps (e.g., “Tap Skip on welcome screen to continue”)
- Special settings to access features
- Known limitations in the test build
- Example: “Use the provided test account. After login, navigate to Settings > Features to access premium options.”

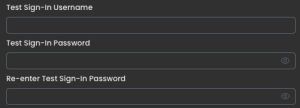
Test Sign-In Credentials
- Test Sign-In Username → Enter the test account username or email.
- Test Sign-In Password → Enter the password.
- Re-enter Test Sign-In Password → Confirm password (must match exactly).
- Important: Provide an account with access to all core features, including paid or restricted ones. Reviewers cannot buy/test purchases.
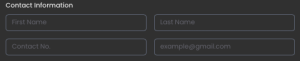
Contact Information
- First & Last Name → Your name or the developer’s contact person.
- Contact No. → A valid phone number (with country code if outside local region).
- Email Address → An active support email (checked regularly during review).
Attachments (Optional but Recommended)
- Click Choose File to upload supporting documents:
- Demo video walkthrough
- App documentation (PDF/Doc)
- Special instructions or FAQs
- File types accepted: PDF, DOCX, MP4, etc.

Save Everything!
Double-check before submitting
- Make sure test credentials work (try logging in yourself with them).
- Ensure email/phone are correct (review team may contact you if issues arise).
- Attachments should open correctly and not exceed size limits.
- Then click the “Save” button

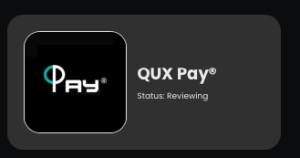
Your app is now live on the QUX® !
Congratulations! Your app has been successfully uploaded.
How to Manage Your App
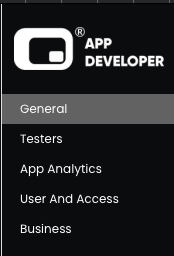
- General– View and update your app’s basic details
- Testers– Manage app testers and permissions
- App Analytics– Track performance and user engagement
- Users & Access– Control user roles and access levels
- Business– Configure business-related settings
General Settings
The General Tab helps you manage your app’s core details through the following sections:

App Information
Edit basic details such as name, description, and version.
Note: The App Information tab will direct you to the same form you completed when adding your app in the App Developer section.
Release History
View and track all app releases and updates.
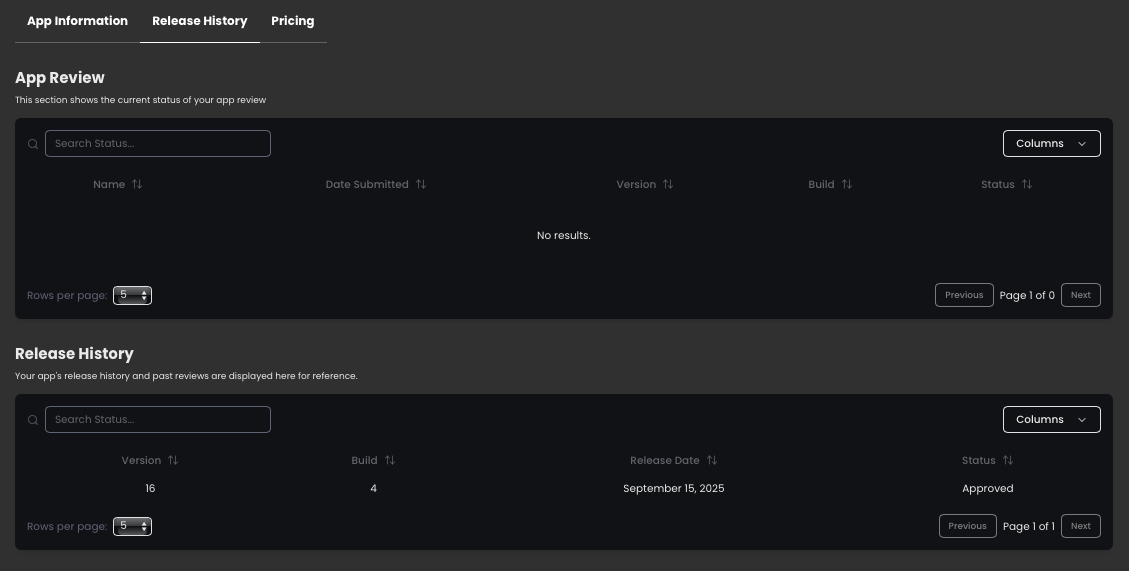
Pricing
Set or update your app’s pricing and payment options.

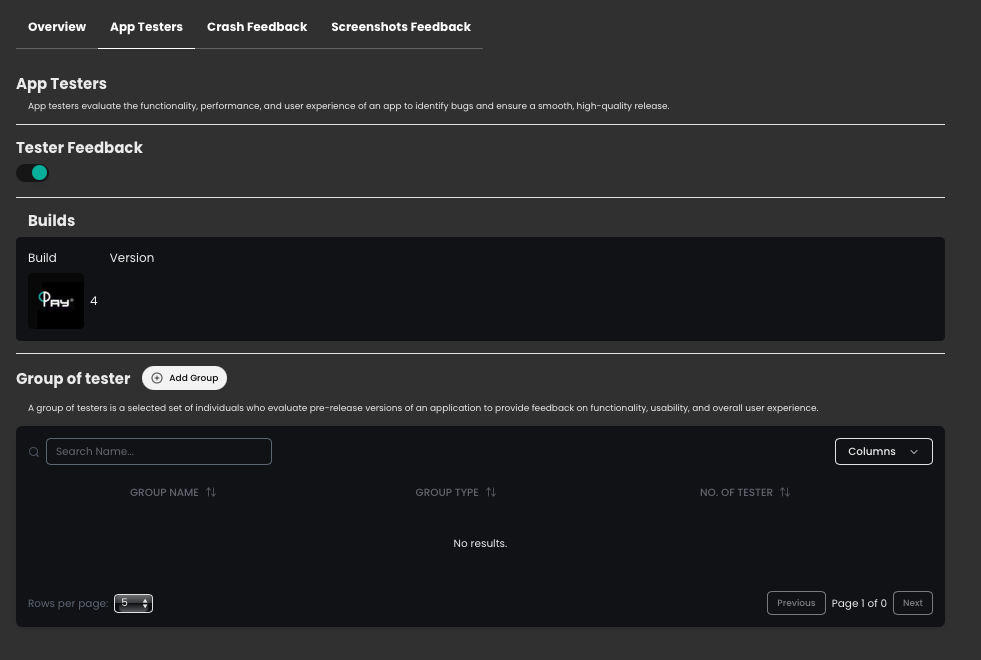
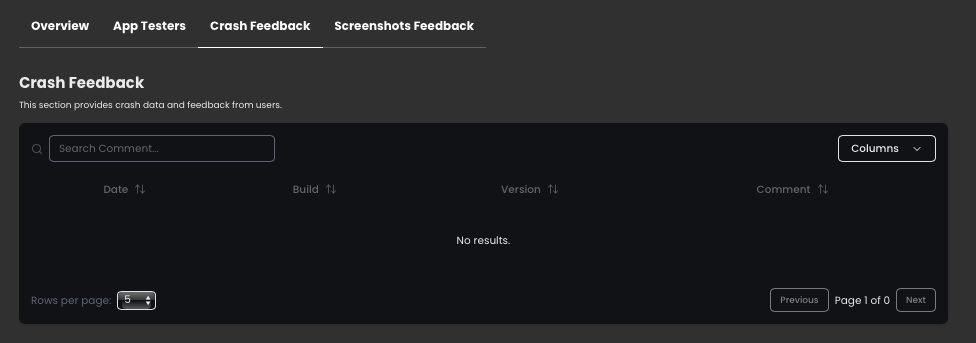
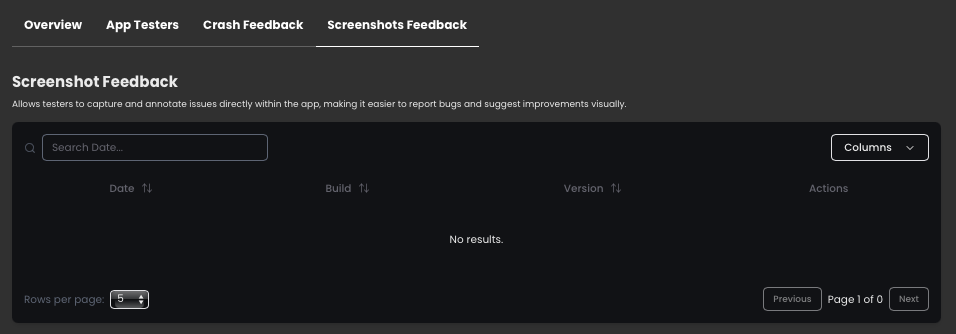
The Testers

Overview – View tester feedback and builds.
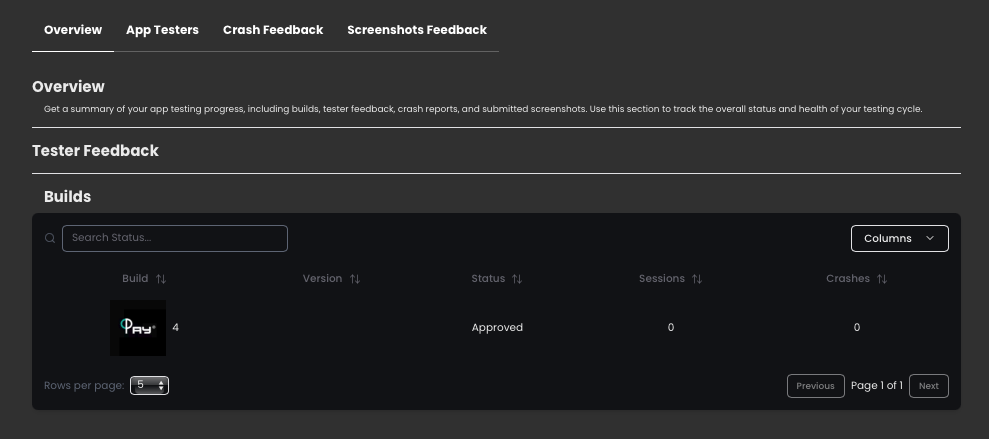
App Testers – Manage and assign testers for your app.
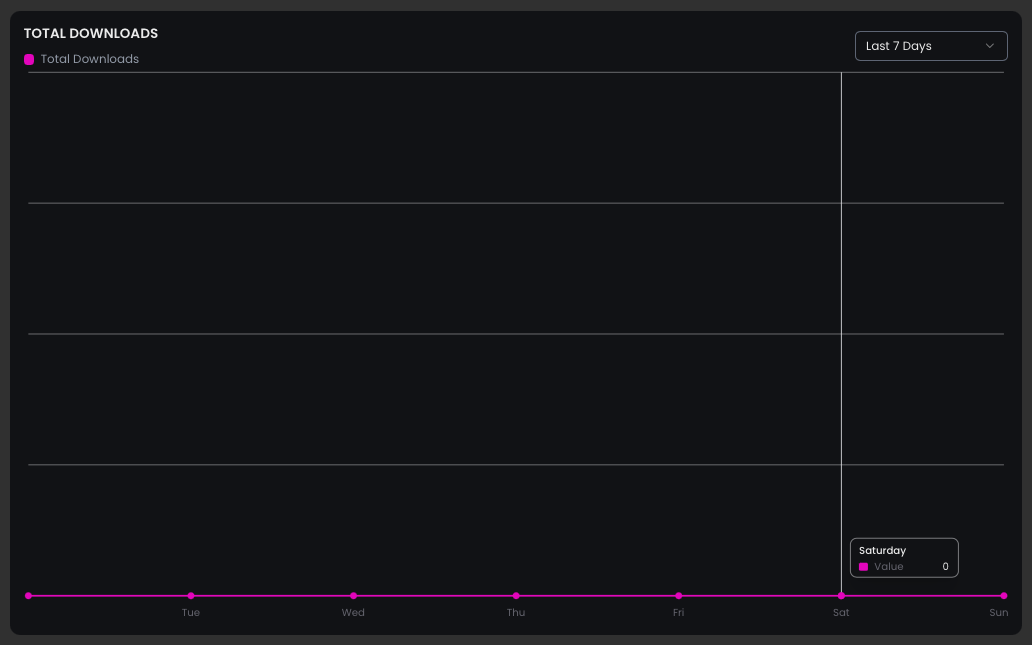
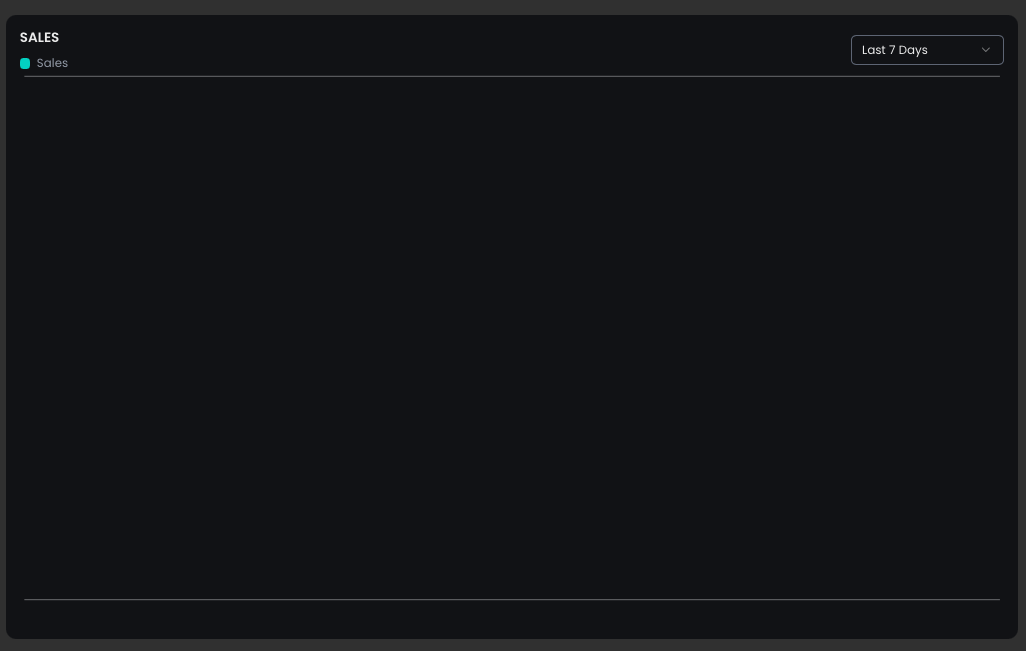
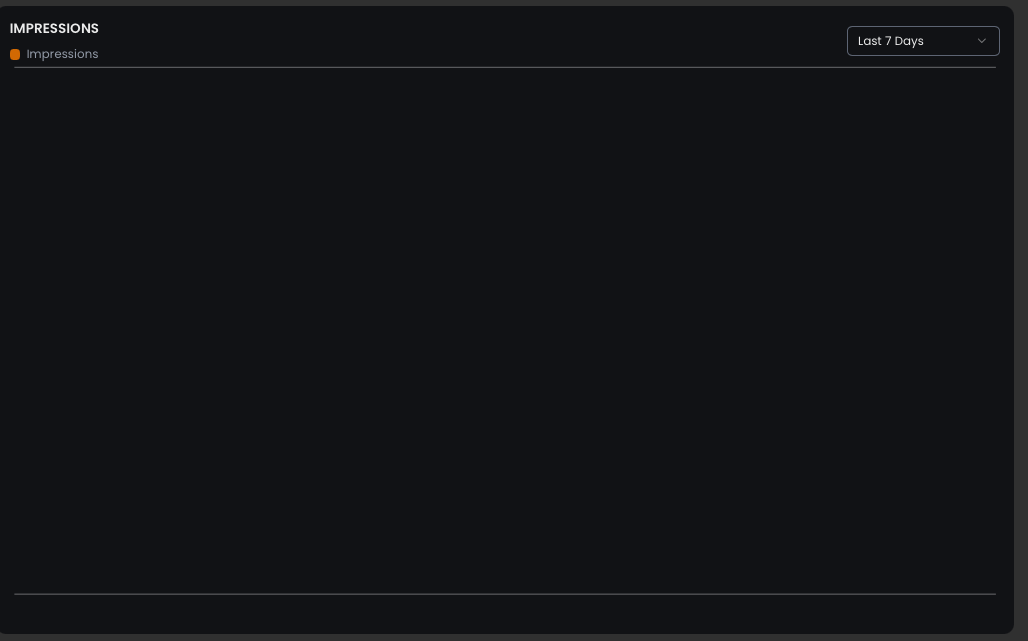
App Analytics Tab

- Dashboard– A high-level summary of your app’s key metrics and trends.
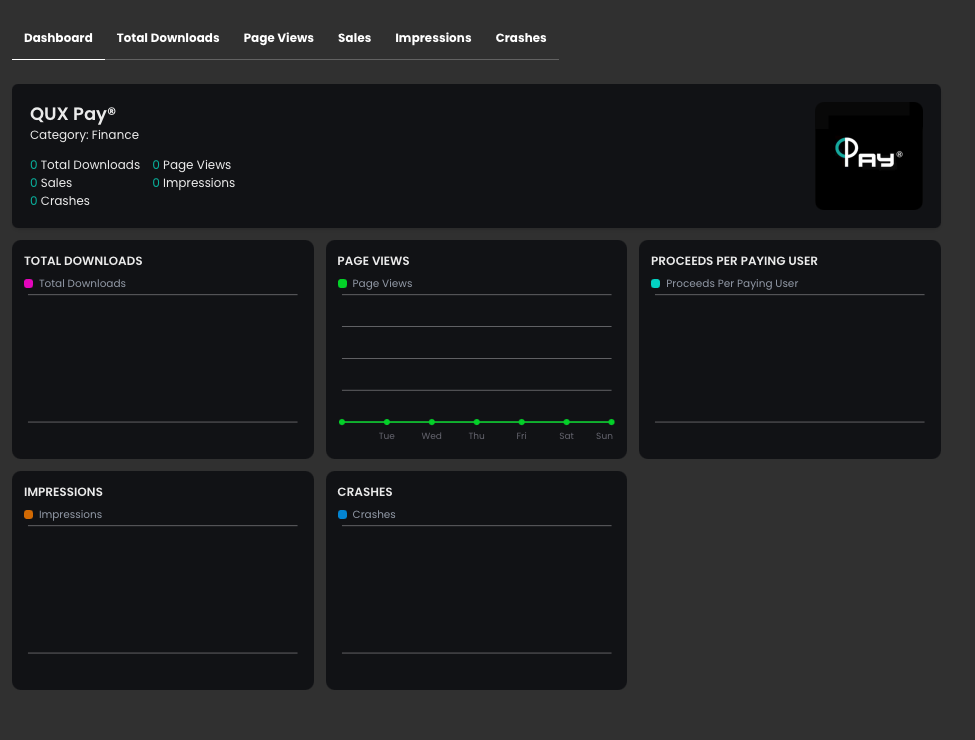
- Total Downloads – Number of times your app has been downloaded.

- Page Views – Total views of your app’s page.

- Sales – Revenue generated from your app.
- Impressions – How many times your app has been displayed to users.
- Crashes – Number of app crashes recorded.
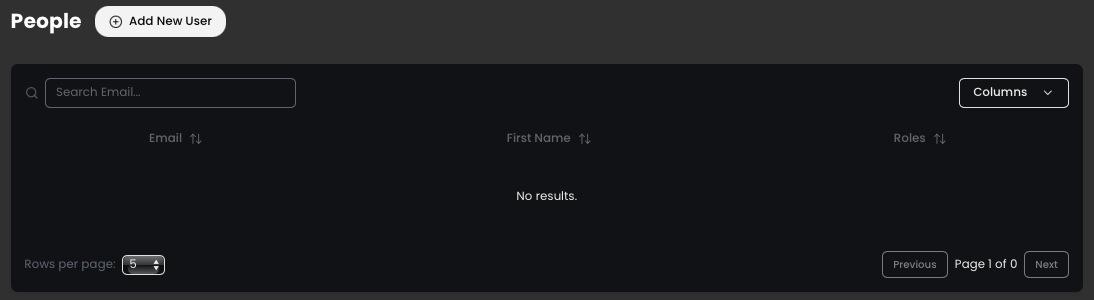
Users & Access Tab
The Users & Access tab allows you to manage who can access your app and what permissions they have.
Add User – Invite new users to your app project and assign roles or permissions.
What’s Next ?
As we move forward, we’ll be adding more features and surprises so stay tuned!
Keep uploading, keep creating, and keep using your influence on QUX®