Why Become a Content Creator on QUX®
As a QUX® Content Creator, you’re not just uploading videos—you’re building immersive multimedia experiences that connect, inspire, and monetize. Whether you’re a storyteller, educator, coach, or artist, QUX® gives you the power to create your own platform and reach a global audience.
Here’s why you should start creating today:
• All-in-One Creative Hub
QUX® lets you build Portals, Collections, Chapters, and Content—all housed in your own interactive multimedia space. Your audience will enjoy a seamless viewing experience while you keep full creative control.
• Monetization Made Easy
Offer your content for free or set up subscription-based access. QUX® supports flexible monetization options so you can earn based on your goals and audience size.
• Global Reach
Break free from platform limits and get discovered by viewers around the world. Whether you’re building a niche following or a massive fanbase, QUX® is designed to scale with you.
• High-Quality Hosting
Enjoy smooth video playback and dedicated space to showcase trailers, images, and descriptions—all optimized for performance. Supports 480p, 720p, 1080p, and 4K in MP4 H.264 format.
Technical Specs
• Upload limit: Up to 1GB per file
• Supported resolutions: 480p, 720p, 1080p, 4K
• File format: MP4 (H.264)
• Simple Setup, Pro Results
With easy drag-and-drop tools and customizable templates, launching your portal takes minutes. No tech experience required—just your creativity.
• Creator Freedom
Own your voice, your message, and your content. Unlike traditional platforms, QUX® gives you full authority over how your content is packaged and presented.
• Community and Support
Join a growing network of fellow creators and get personalized assistance from the QUX® team. We’re here to help you thrive—every step of the way.
Understanding the QUX®️ Portal System
A Portal is your central hub for multimedia content. Think of it as your branded digital stage—home to your collections, chapters, and video content.
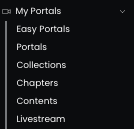
Here’s what you’ll find under My Portals:
- Portals – The list of portals you’ve created.
- Collections – Sections within a portal that group related chapters.
- Chapters – Individual episodes, lessons, or segments of your collection.
- Content – The core media file, typically video-based.
- Livestream – See Separate Guide for How to Create a livestream.
Reminder: Each requires a specific rating. Please refer to the guide for a detailed description of the available rating categories.
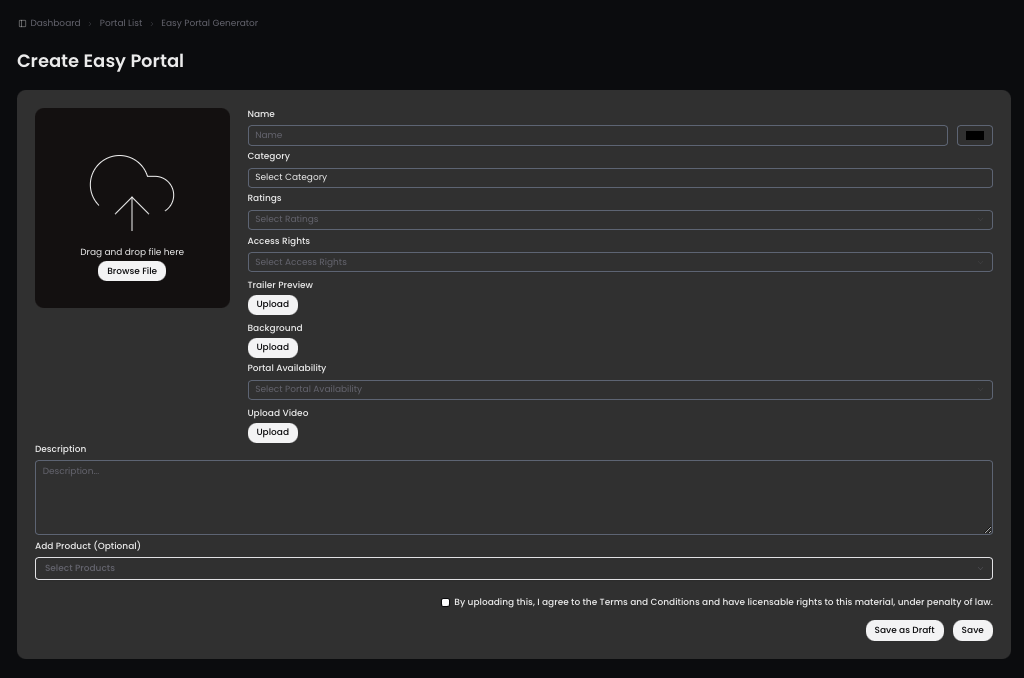
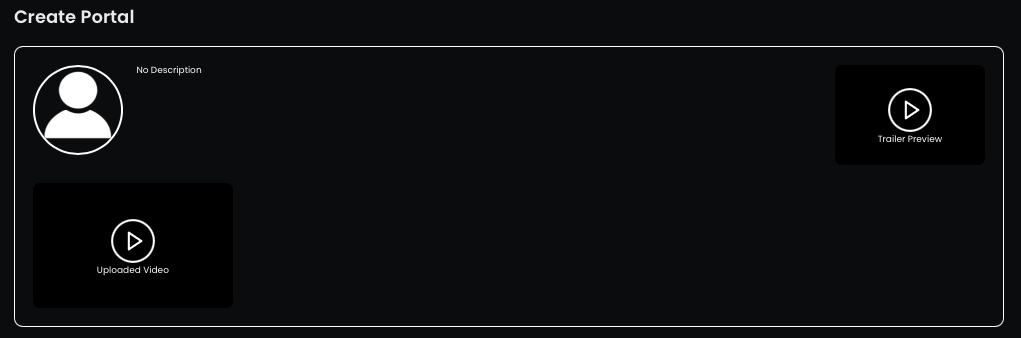
How to Create a Portal
- Under “My Portals,” select Easy Portals.
- Drag, drop, or browse to upload your Portal Image.
- Enter your Portal Title.
- Select:
- Category (e.g., Food, Travel, Sports)
- Rating
- Access Rights
- Upload your:
- Trailer Video
- Portal Background
- Main Video Content
- Choose Portal Access: Free for All or Subscription-Based
- Add a Description.
- Agree to the Terms and Conditions.
- Click “Save.”
To edit your Easy Portal, just click the portal thumbnail and you’ll return to the setup screen. Don’t forget to save your changes.
Navigating the Portals Dashboard
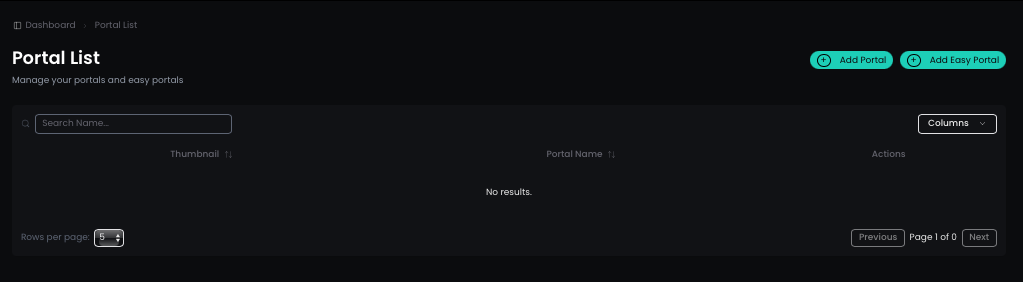
Once you select “My Portals,” you’ll be directed to your Portal List—this serves as your main dashboard where you can view all your created Portals and Easy Portals in one place.
To create a new portal, simply click “Add Portal” or “Add Easy Portal” at the top-right corner of the screen.
Note: Easy Portals do not have a separate dashboard. When selected, they also appear directly in the main Portal List for easier access and management.
How to Create a Portal
- Go to “My Portals” from your QUX® Dashboard.
- Click “Portals” and choose “Create New Portal.”
- Fill out the following details:
- Portal Name
- Category (e.g., Sports, Entertainment, Music)
- Subcategory (e.g., Brand, Class Type, Function)
- Rating (Y, Y7, PG-14, MA, FS, X, etc.)
- Access Rights – Specify if the content is original, copyrighted, or under fair use.
- Trailer Source – Paste the link to your trailer’s source.
- Upload:
- Portal Image – Drag/drop or browse to upload.
- Portal Background
- Add a compelling Description and click “Save.”
You can create multiple portals for different content types or audiences.

Navigating the My Collections Dashboard
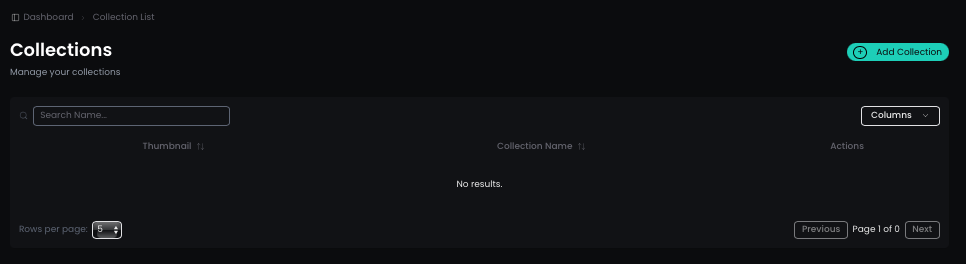
Once you select “Collections,” you’ll be directed to your Collection List—this serves as your main dashboard where you can view and manage all the collections you’ve created.
To create a new collection, simply click “Add Collection” at the top-right corner of the screen.
Note: All collections are displayed directly within the Collection List for easy access and management.
How to Create a Collection
- Click “Collections” under “My Portals.”
- Provide the following:
- Collection Name
- Category and Subcategory
- Rating, Access Rights, and Trailer Source
- Upload:
- Collection Image
- Collection Background
- Add a short Description and click “Save.”
You can have multiple collections within one portal.
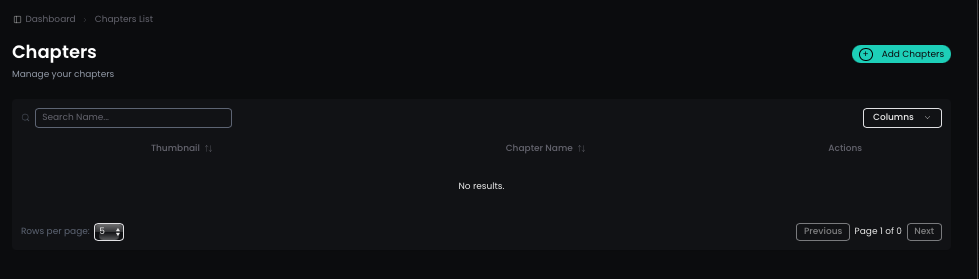
Navigating the Chapters Dashboard
Once you select “Chapters,” you’ll be directed to your Chapter List—this serves as your main dashboard where you can view and manage all the chapters you’ve created.
To create a new chapter, simply click “Add Chapters” at the top-right corner of the screen.
Note: All chapters are displayed directly within the Chapter List for easy access and management.
Your Title Goes Here
Your content goes here. Edit or remove this text inline or in the module Content settings. You can also style every aspect of this content in the module Design settings and even apply custom CSS to this text in the module Advanced settings.
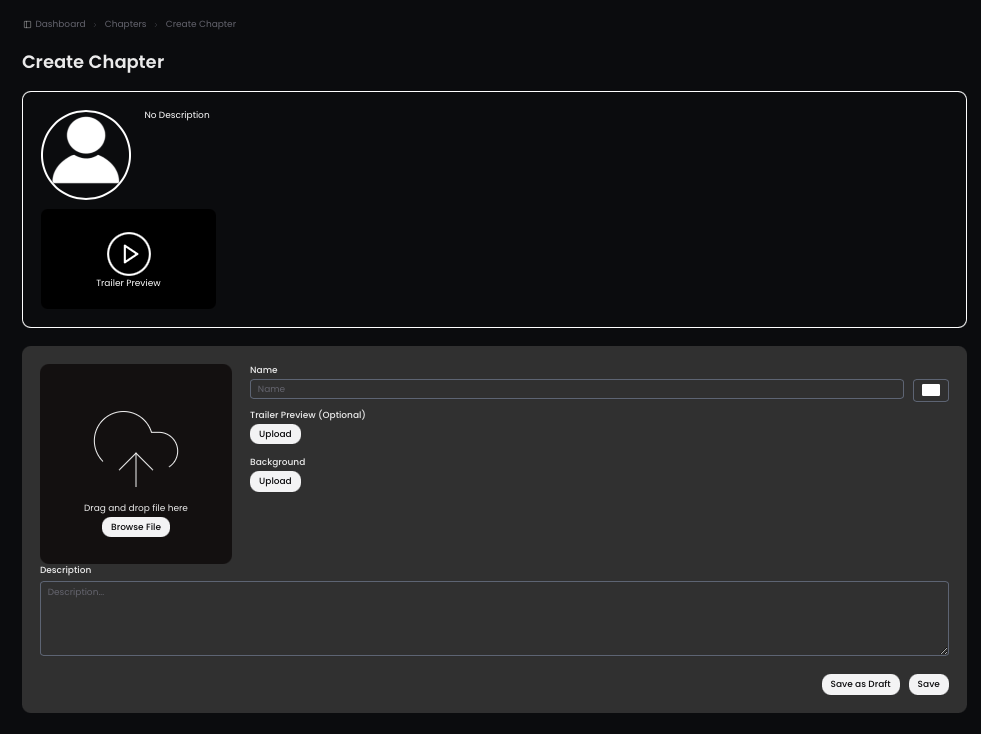
How to Create a Chapter
- Navigate to “Chapters” under “My Portals.”
- Fill in:
- Chapter Name
- Category and Subcategory
- Rating, Access Rights, and Trailer Source
- Upload:
- Chapter Image
- Chapter Background
- Add a Description and click “Save.”
Chapters help organize your content into digestible parts.
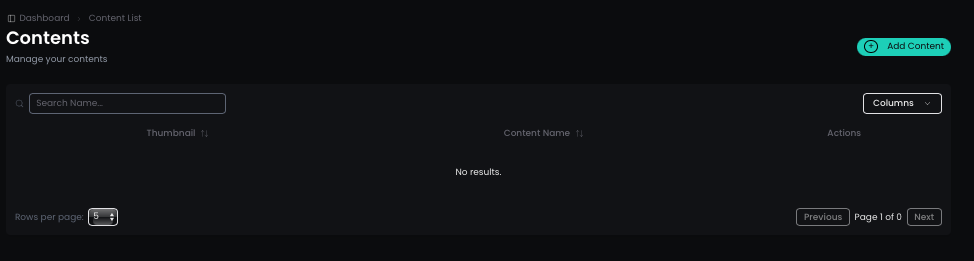
Navigating the Contents Dashboard
Once you select “Contents,” you’ll be directed to your Content List—this serves as your main dashboard where you can view and manage all the contents you’ve created.
To create new content, simply click “Add Content” at the top-right corner of the screen.
Note: All contents are displayed directly within the Content List for easy access and management.
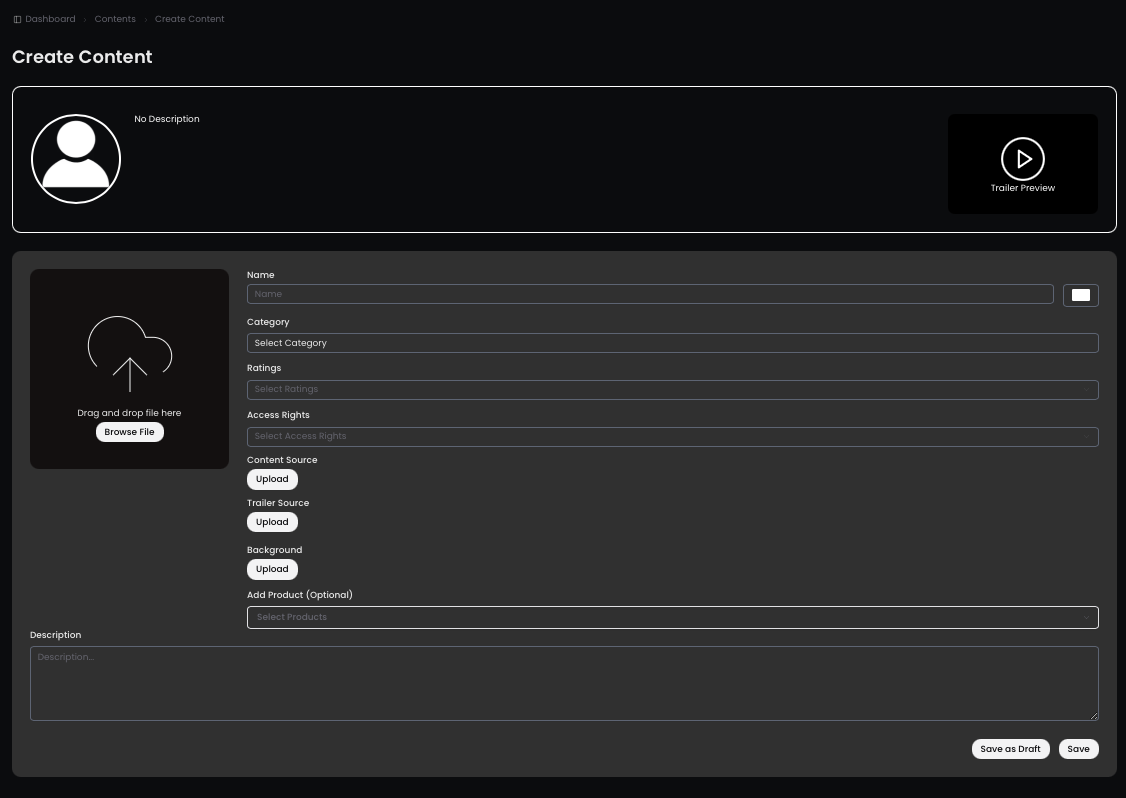
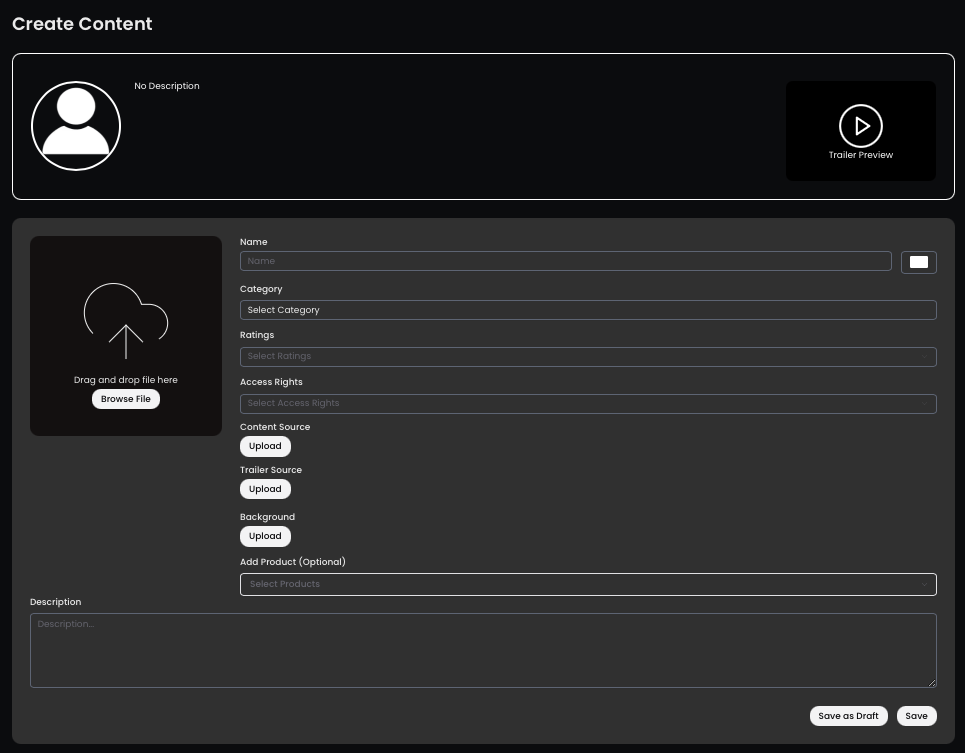
How to Upload Content
- Go to “Contents” under “My Portals.”
- Provide:
- Content Name
- Category and Subcategory
- Rating, Access Rights, and Trailer Source
- Upload:
- Content Thumbnail
- Background Image
- Add a Description and click “Save.”