
Why Become a Merchant on QUX®?
As a merchant on our platform, you are joining a dynamic ecosystem designed to amplify your business reach, streamline your operations, and enhance your customer engagement. Here’s why you should become a QUX® merchant:
- Expanded Reach: Tap into a vast and diverse audience base, expanding your market reach beyond geographical limitations. QUX® provides you with the platform to showcase your products and services to a global audience.
- Enhanced Security: Benefit from our state-of-the-art security measures, including 2-Factor Authentication (2FA) and secure payment gateways, ensuring that your transactions are safe and your customers’ data is protected.
- Innovative Tools: Gain access to a suite of innovative tools designed to optimize your business operations. From advanced analytics to seamless inventory management, QUX.tv equips you with everything you need to grow your business efficiently.
- Customer Engagement: Foster stronger connections with your customers through
personalized interactions and tailored marketing strategies. The QUX® platform enables you to create meaningful relationships with your audience, driving loyalty and repeat business. - Seamless Integration: Enjoy easy integration with various payment methods and third-party services, simplifying the process of managing your business. QUX® ensures that you can focus on what you do best – running your business – while we handle the technicalities.
- Support and Community: Join a supportive community of like-minded merchants and benefit from our dedicated customer support team. Whether you’re facing a technical issue or need advice on best practices, QUX® is here to assist you every step of the way.
How to Become a QUX® Merchant?
Step 1: Set Up Requirements
To proceed, you must have a QUX® Box or a QUXPay™ account.
Don’t have a QUXPay™ account yet? Refer to the guide. (Click here)
Step 2: Log In to Your Account
Go to: https://qux.tv/auth/login
Step 3: Access Account Settings
Hover over the right side of the screen and click on your profile icon.
Then, click on Account Settings.
Step 4: Create Your Store
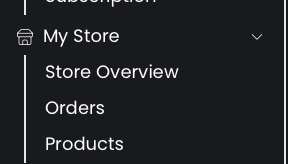
On the left menu, click My Store then select Create Store.
Alternatively, click on Start a Merchant Account within your Account Settings.
Step 5: Agree to Terms
Read through the QUX® Merchant Agreement Terms of Service.
Click Accept & Continue to proceed.
Step 6: Enter Tax Information
Provide your full name and tax number. Click Continue.
You can update tax info later under Edit Profile if needed.
Step 7: Store Creation
Provide the following details:
- Name: The name your customers will see.
- Company Name: If applicable.
- Phone Number: For customer inquiries.
- Description: Brief overview of your products/services.
- Store Categories: Choose subcategories relevant to your products.
- Upload Store Image: Add and crop your profile photo.
- Upload Background Image: Customize your storefront background.
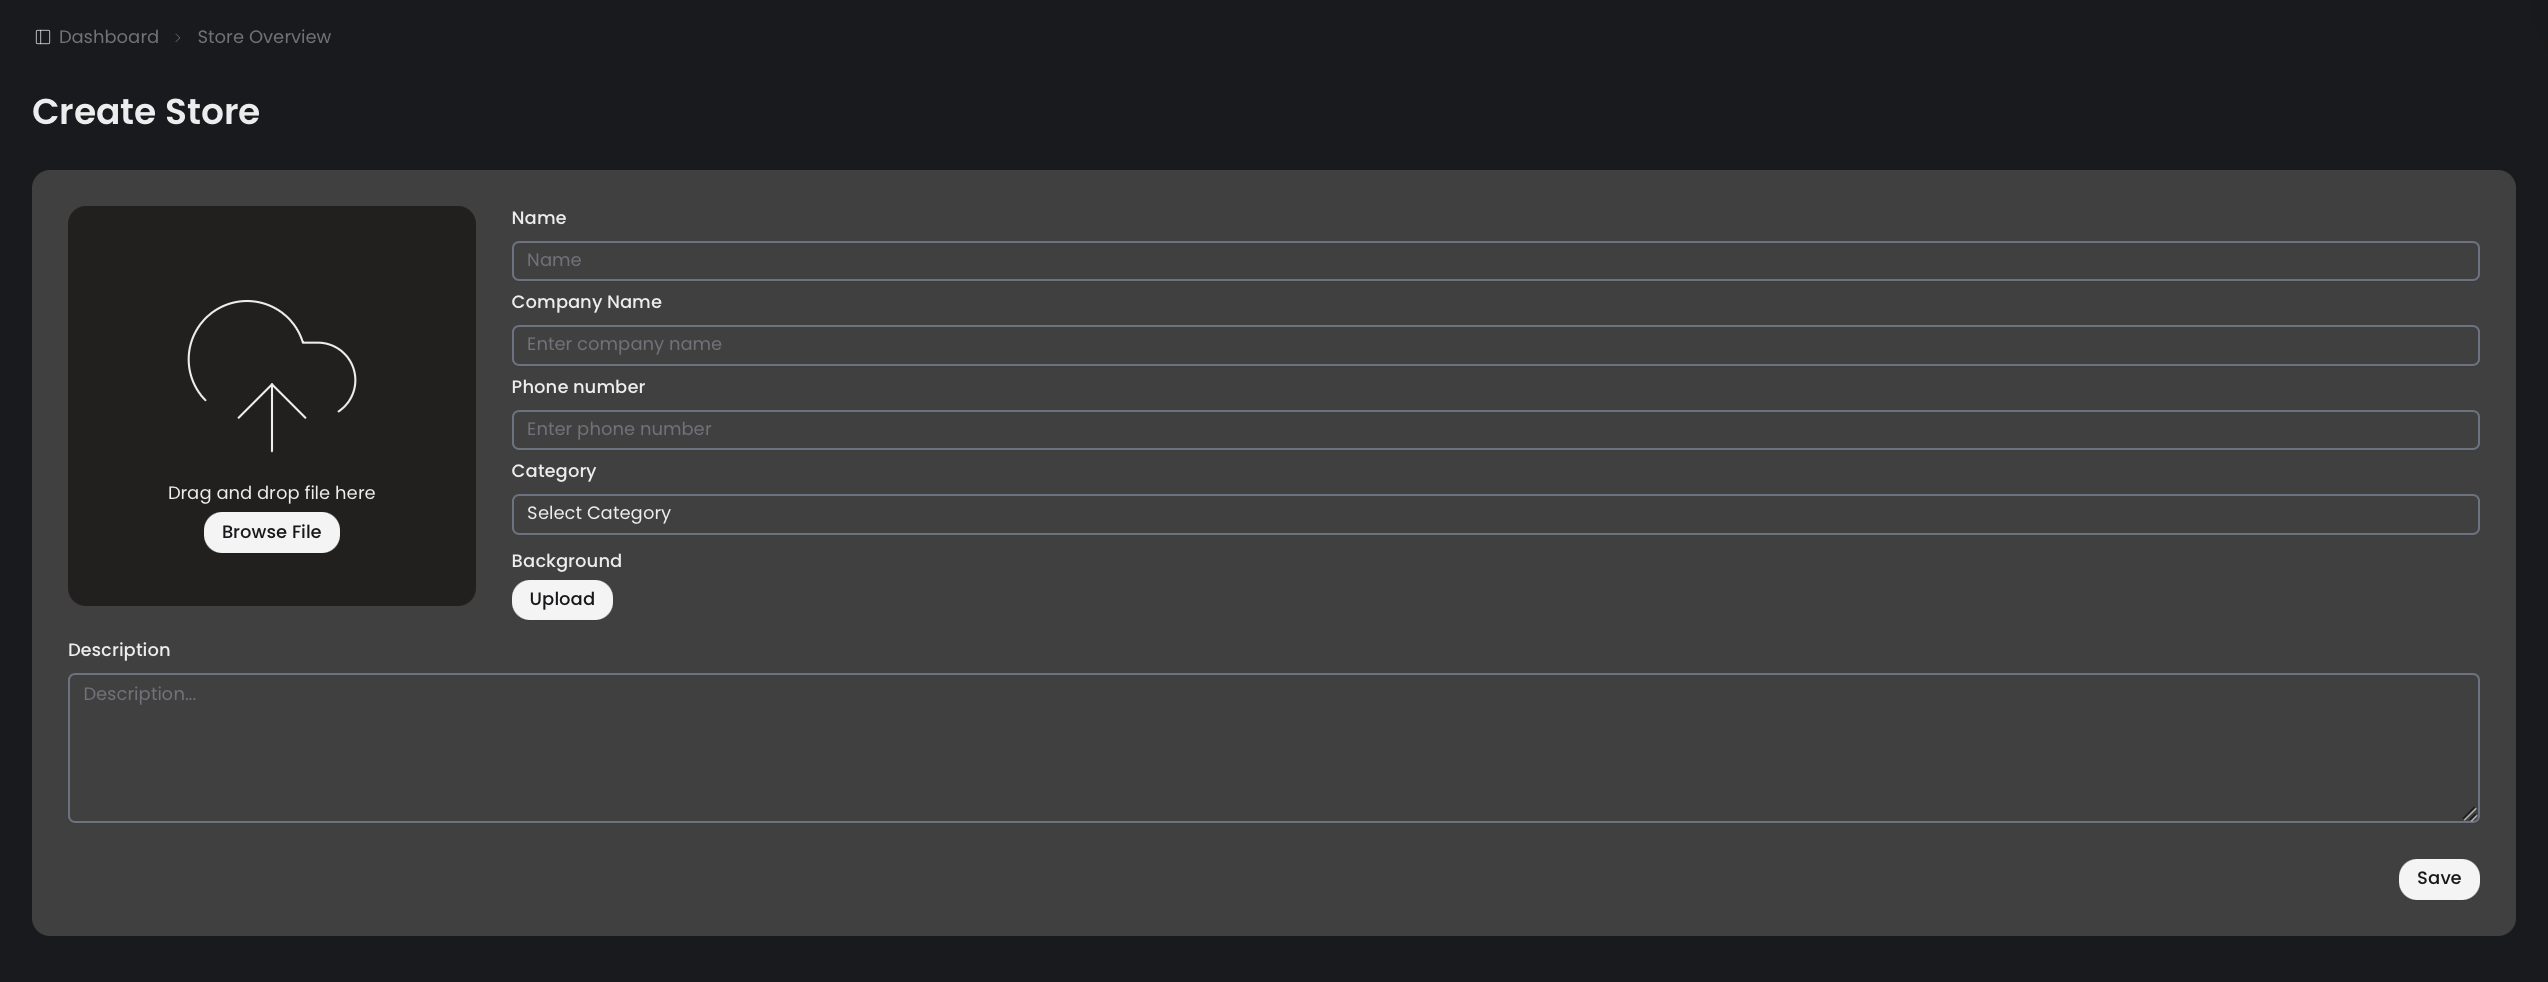
Step 8: Save Your Store
Click Save to confirm and launch your store.
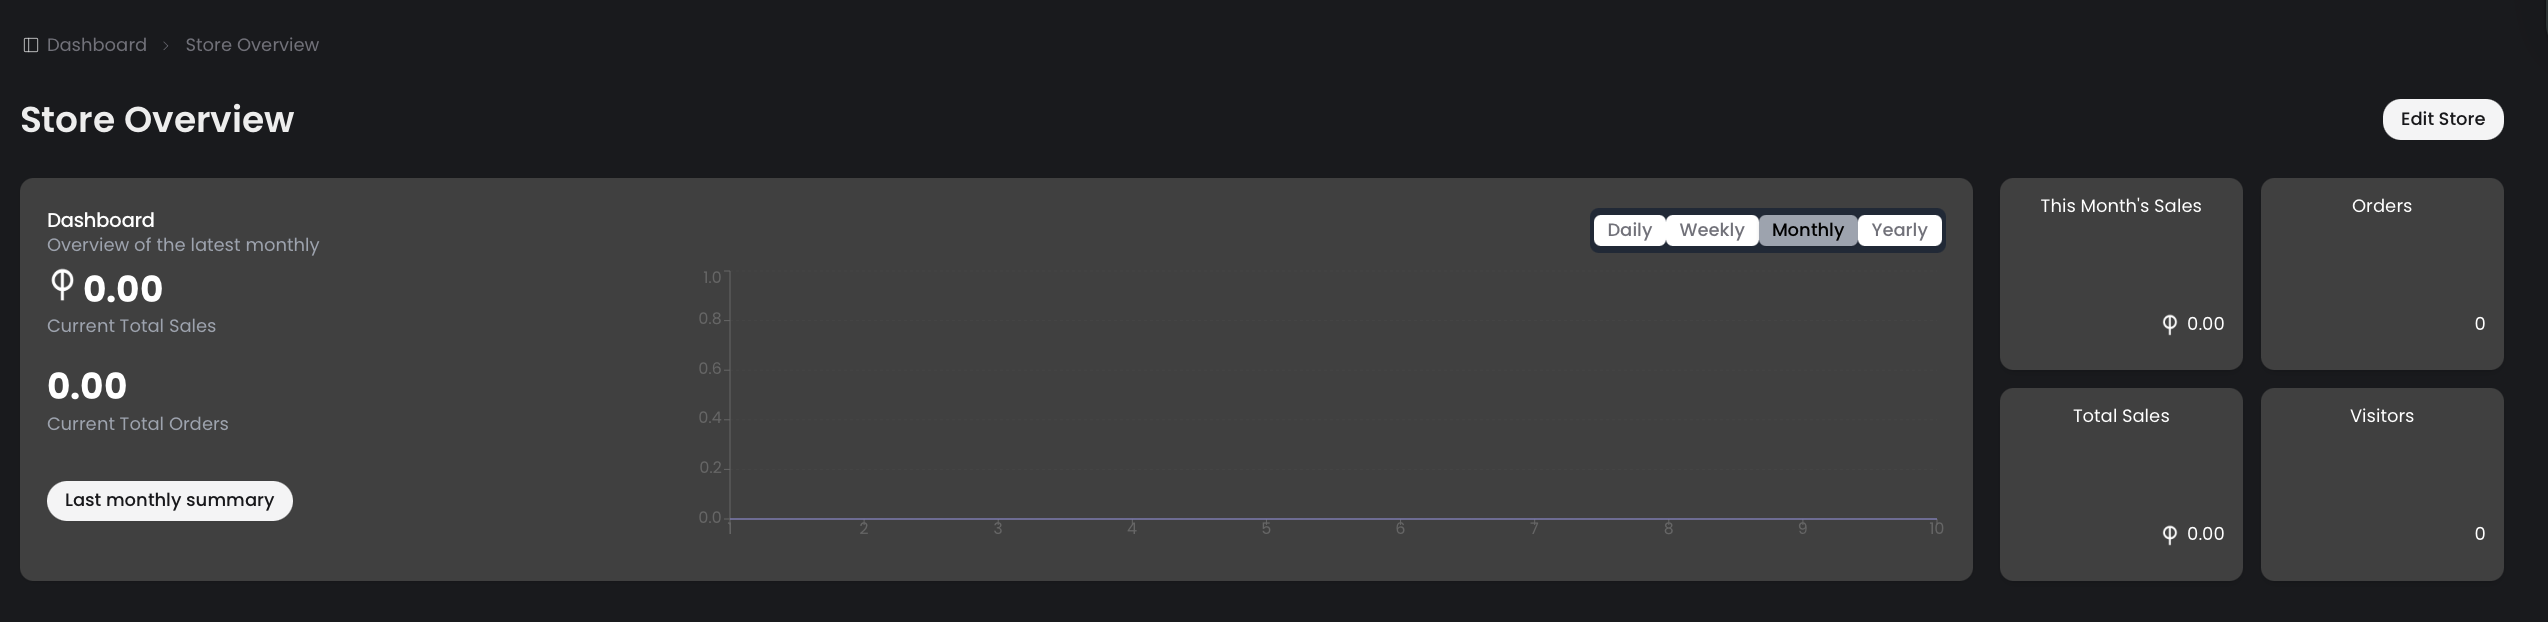
Store Dashboard Overview
Access your store dashboard via My Store on the left panel.
- Dashboard: Summary of store activity.
- Transaction Graphs: View by day, week, month, or year.
- Current Sales & Orders: Real-time stats.
- Last Month’s Summary / This Month’s Sales
- Visitors: Track engagement.
- To-Do List:
- To Fulfill: Pending orders
- Completed: Fulfilled orders
- Return/Refund: Items needing attention
- Sold Out Products: Inventory alerts
Managing Your Store
Edit or Delete Store
Update details like name, images, or description anytime under Edit Store.
View & Manage Orders
Tabs include:
- All
- Unfulfilled
- Completed
- Cancelled
- Return/Refund
Also includes search, filtering, order details (date, status, total, quantity), and action buttons for editing or managing orders.
Products Page Overview
Product Management Tabs
- All
- Active
- Inactive
- Sold Out
Use the Search Bar or Filter by Name to locate items.

Add Products
Click Add Product, then follow these steps:
Step 1: Product Name & Category
- Add product name
- Select subcategory
- Write a clear and detailed product description
- Click Continue

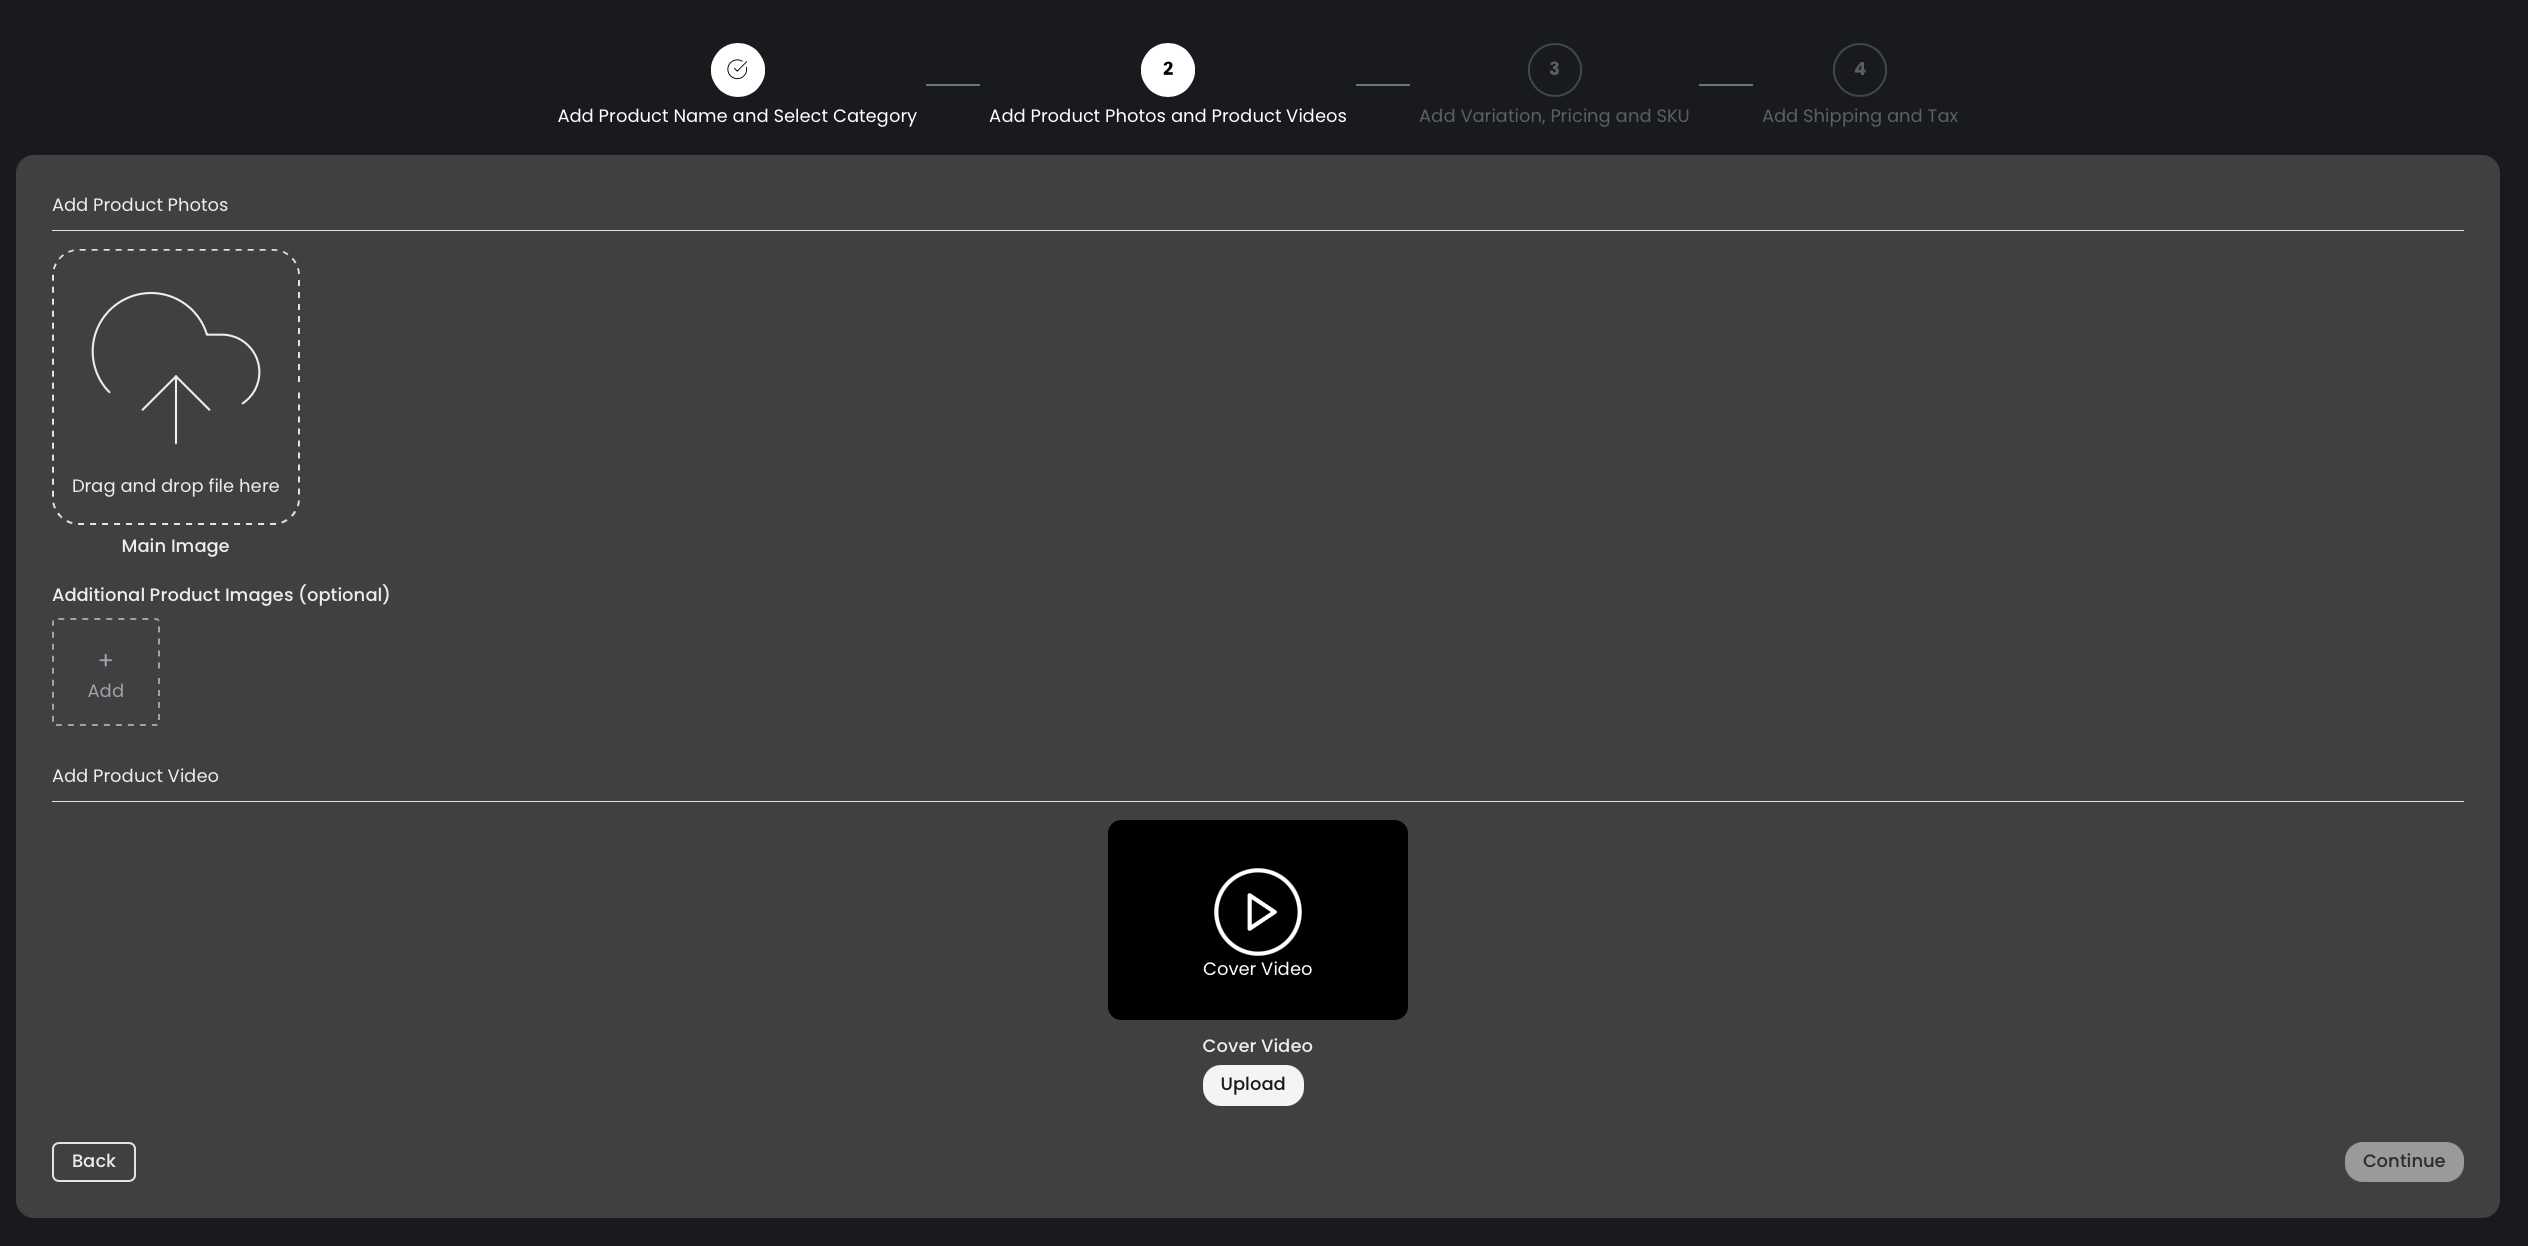
Step 2: Media Upload
- Upload main image
- Add additional images
- Upload product video
- Click Continue
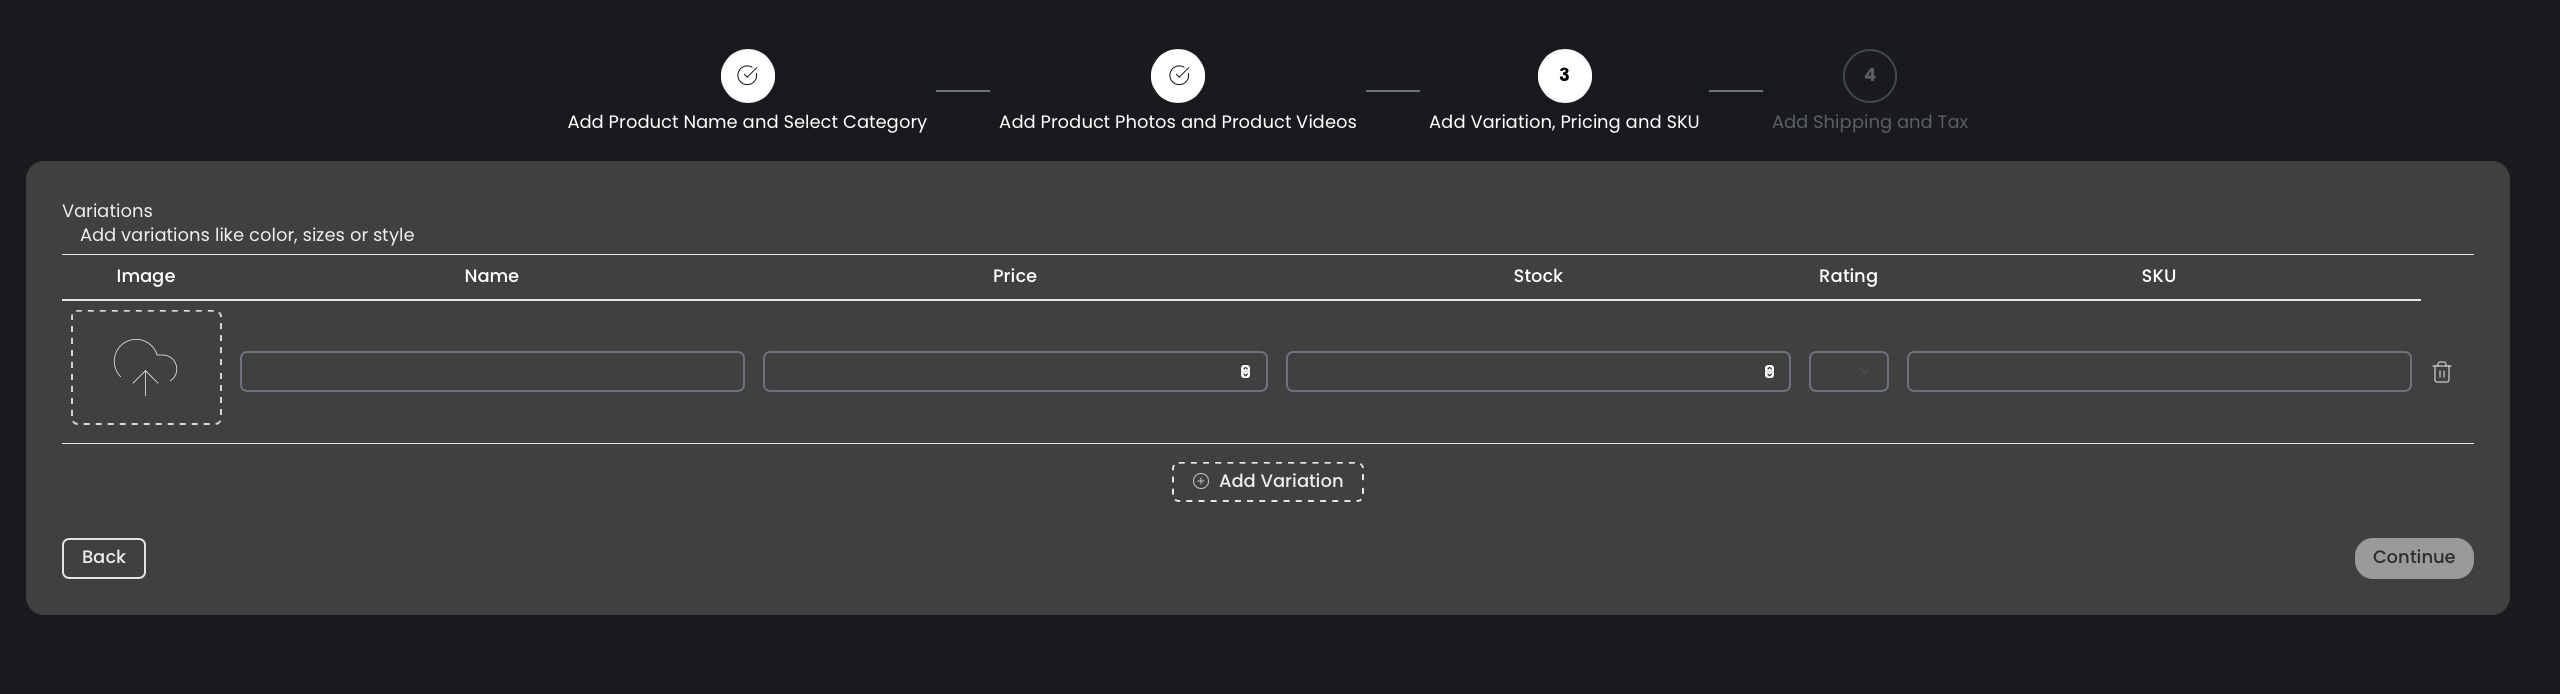
Step 3: Variants & SKU
- Upload image for each variation
- Add name, price, stocks, rating, and SKU
- Click Add Variation or use the trash icon to delete
- Click Continue
Step 5: Shipping & Tax
- Add shipping fee or enable free shipping
- Set tax fee
- Click Save (or Back if you want to make edits)

Editing & Deleting Products
- Go to My Products
- Use Actions > Edit to modify
- Use Actions > Delete to remove items

You’re All Set!
Once your products are live and your store is configured, you’re ready to start selling on QUX®.